Friday, March 23, 2012

Bicycle Chain and Glass Insulator “love” Sign – DIY


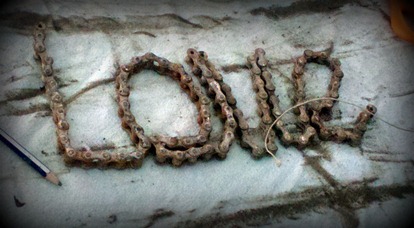
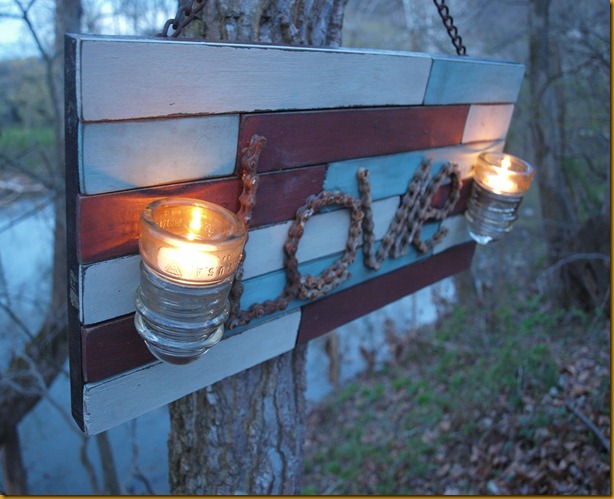
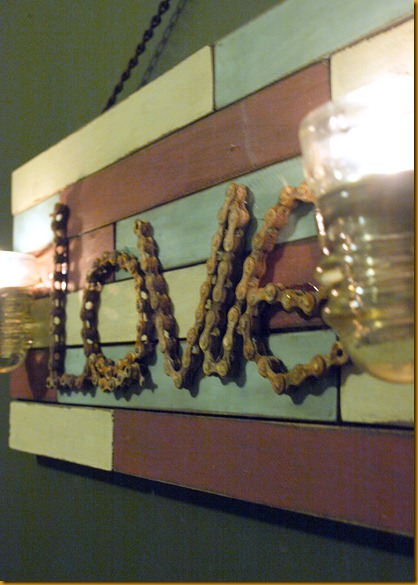
I’ve been wanting to create a “message” sign out of old hardware or metal materials for a while now and one day got around to digging through our pile of rusty goodness we’d collected.  We have the start of a good variety of hinges, chains, springs and other odds and ends.  I pulled out a few pieces of old bicycle chain and started working and twisting it until it eventually spelled out “love”.. something I’m lucky to have a lot of….  

2012-03-19_19-16-06_826

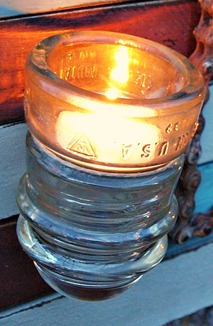
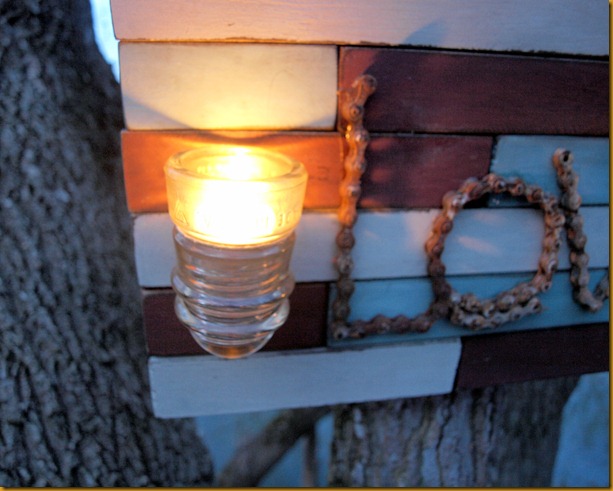
So this was the base for my design..  I had thought about mounting it in between two mason jar vases but decided to go with glass insulator candle holders.  (Look for the mason jars in future projects…)

love sign edited_3-001

Then I had to decide what to mount it all to…  weathered barn wood is always an option..  but I had something different in mind.  I wanted to created a collage of beautiful chalk paint colors and that’s just what I did..  the design was complete, here’s how I pulled it off!

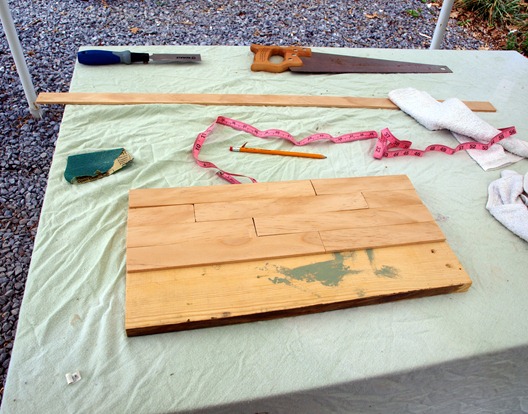
I needed a larger board to mount everything to so I grabbed a piece of scrap lumber my husband had in the shed.  For the mosaic of chalk painted boards I purchased a piece of trim board from Lowes.. it comes in 7ft pieces, which was just enough for this project.  My first step was creating my pattern and cutting the trim board into smaller pieces.

007-001

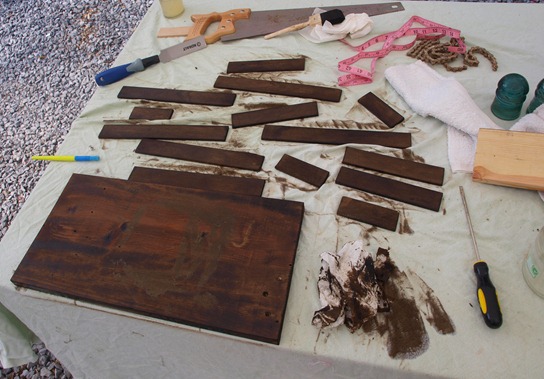
Next, I stained all of the pieces with a dark stain.  The large base board because it’s sides were going to be exposed and so the dark color would serve as a background for any cracks between my smaller pieces.  The small mosaic pieces so that the dark color would come through after chalk painted and sanded.

008-001

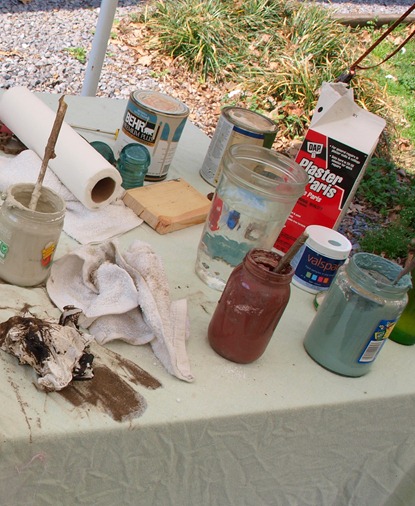
After staining and wiping down, I chalk painted the smaller pieces.  I chose to use three colors I felt go well together.  I make my own chalk paint using a simple recipe of 3 parts paint to 1 part Plaster of Paris, also available at Lowes. 

010

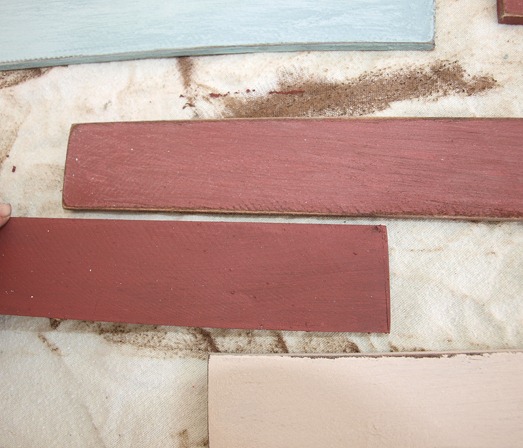
After painting and allowing to dry (which literally takes minutes with chalk paint) I sanded each piece to give it that lovely worn look and allow the dark stain color to come through.

014

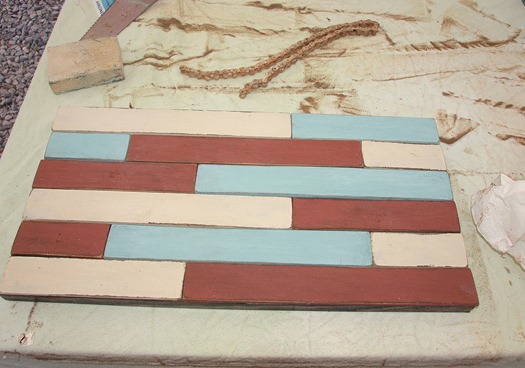
Next up was attaching these painted boards to my larger base board.  For this I simply used wood glue and allowed to dry overnight while weighted.

018-001

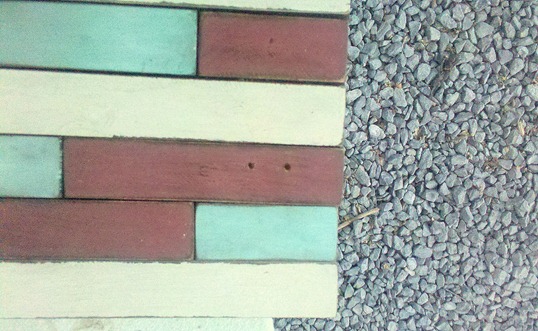
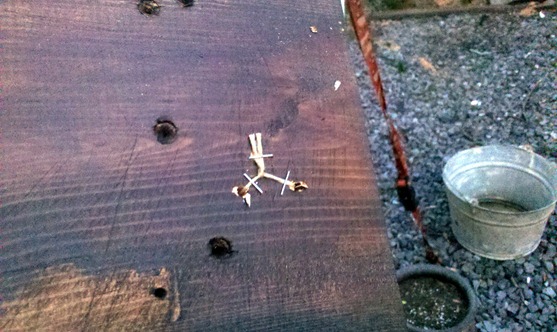
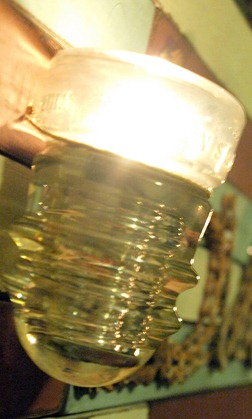
The next day I started by attaching the glass insulators.  I decided to attach them with twine, and the first step was drilling two holes for the twine to feed through.

2012-03-19_19-20-040

The twine is wrapped around the glass insulator and each end is fed through one of the holes, then tied and stapled to the back of my base board.

2012-03-19_19-30-021

061-001

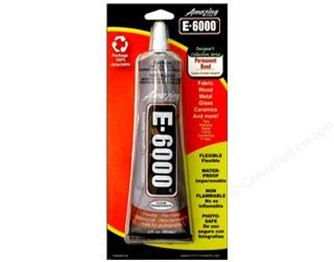
I repeated this for the other glass insulator, then it was on to attaching my “love” bicycle chain.  For this I used E-6000 glue, picked up at Walmart in the craft aisle. 

e-6000glue

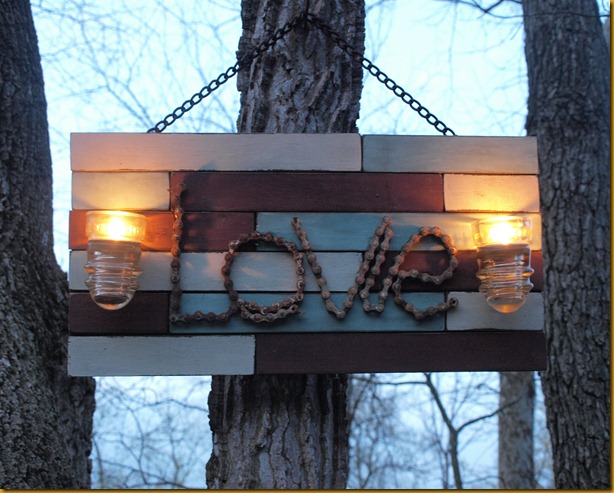
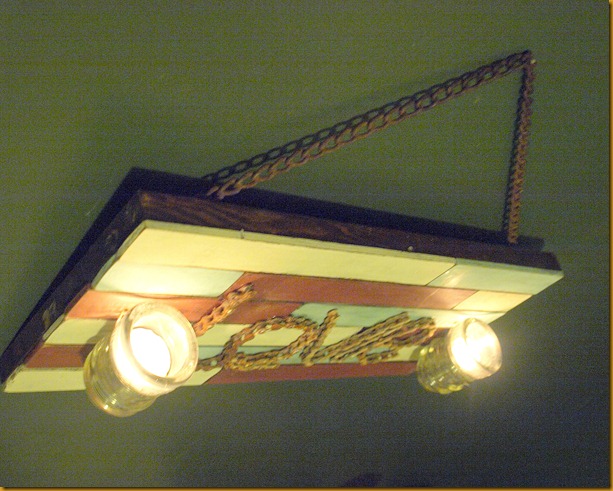
I allowed that to dry overnight with a few books on top to weigh it down.  I screwed an old chain to the back of my base board for hanging, and my “love” sign was complete!

032

022

036-001

056-001

059-001

On to the next project!
Megan Signature

Wednesday, March 21, 2012

Upcycling Wooden Crates

upcycledcratesNever Underestimate the Use of an Old Wooden Crate!
I’ve observed that wooden crates are the most plentiful item at flea markets and antique malls.  Perhaps this is because I live in the unofficial “Apple Capital of the World”, the great Shenandoah Valley in Virginia.  Apple, soda, and ammunition crates are so plentiful around these parts, that you would probably find 10 of them at one stop, and pay less than $8 for each.  Most people just see them as old weathered wooden crates, but those of us with the upcycling bug see things a bit different.  Tap into the right side of your brain as you enjoy these great new uses for old wooden crates.
Explosive Box Wall Signs
AmmoBox1
Milk Crate Dog Bed (Sammy's Backyard Crafts)
dogbed
Shipping Crate Table (MsRekamepip)
shippingcratetable
7-Up Dog Bowl (SummerOfSeventy)
sevenupdogbowl
Pepsi Crate Jewelry Holder (DwayneBullaDesigns)
pepsiJewelryHolder
Gardening Box (Joe Crayton)
gardeningbox
Ammunition Box Table (Kristen Villalobos)
ammoboxtable
Soda Crate Stairs (Corinne Davis)
sodacratestairs
How do you use your crates?  Post a comment and link in the comments section to share your ideas and projects.
signature

Tuesday, March 20, 2012

Upcycled Lighting–Wire Up Your Junk

Banner2
What is Upcycled Lighting?
The concept is fairly simple….you take an ordinary object and transform it into a working light by wiring it up with a lamp kit. 

Our Upcycled Lights (Handmade and for sale)
http://www.upcycled-lighting.com/
http://www.etsy.com/shop/HarvestMoonShoppes
The Upcycle Process

1. Find a Fixture: What types of items can become light fixtures? The answer to this depends on your imagination and creativity. I suppose you could say that anything can become a light, be it a suitcase, a stapler, a bucket, or a fish tank.

In reality, you’d probably want to choose an item that has characteristics of modern day lighting….for two reasons, 1) so wiring it up doesn’t take weeks, and 2) so people don’t think you’re crazy for converting your pool skimmer into a chandelier. Be creative, but keep it realistic!

Some of my favorite items are antique egg baskets, steel, galvanized, and copper buckets, anything that resembles a pot or a bucket, antique pie tins, vintage ceramic cooking pots, and ball jars. I started with the more traditional fixtures like buckets and baskets, but have since gotten a bit more creative by using an antique cream separator bowl.
You’ll find more than enough items with just one trip to a local flea market or during a mornings worth of yardsales. You’ll likely get a good deal on these items too, since they’re aren’t as desirable to most people. Remember, you’re turning trash into treasure here, so don’t spend more than $10 or $20 on any given fixture.

2. Add Some Character: This is the fun part! You may choose to pepper your bowl with a shotgun, like I tend to do, or you may decide to just put a few coats of clear coat in it. Whatever your flavor, just have fun with it.

3. Wire it Up: Purchase a pendant light kit from your local hardware store, or build your own lamp kit by purchasing individual parts. The kits are by far the best route to go, since you get everything you need to install the fixture in any setting.
Some of My Upcycled Lights

Galvanized Bucket
Galvanized Bucket Pendnt Light

Antique Egg Baskets
Egg Basket Pendant LightEgg Basket Pendant LightEgg Basket Pendant Light

Antique Copper Bucket (Character added by 4 shots with a .410 shotgun.)
Copper Bucket Pendant LightCopper Bucket Pendant LightCopper Bucket Pendant Light

Antique Cream Separator Bowl
Cream Separator Pendant LightCream Separator Pendant LightCream Separator Pendant Light

All of our lights come with a 12’ cord with a plug on the end, as well as an on off switch.
Pendant Light Plug and Switch

I hope you enjoyed the info and the pics.  Feel free to share pics of your own upcycled light by joining us on Facebook, Twitter, Etsy, and at www.harvestmoonshoppes.com.

signature